Guns Germs And Steel
I’ve never been a big history fan. Too many names and dates to memorize. But now, free from the pressure of having to learn for the sake of getting good grad...
If you’re reading this, I’m assuming that you’ve read the paper Image Style Transfer Using Convolutional Neural Networks and have some familiarity with it.
Here are the images I’ll be working with for this section, the content images are on the left, the style image is on the right:
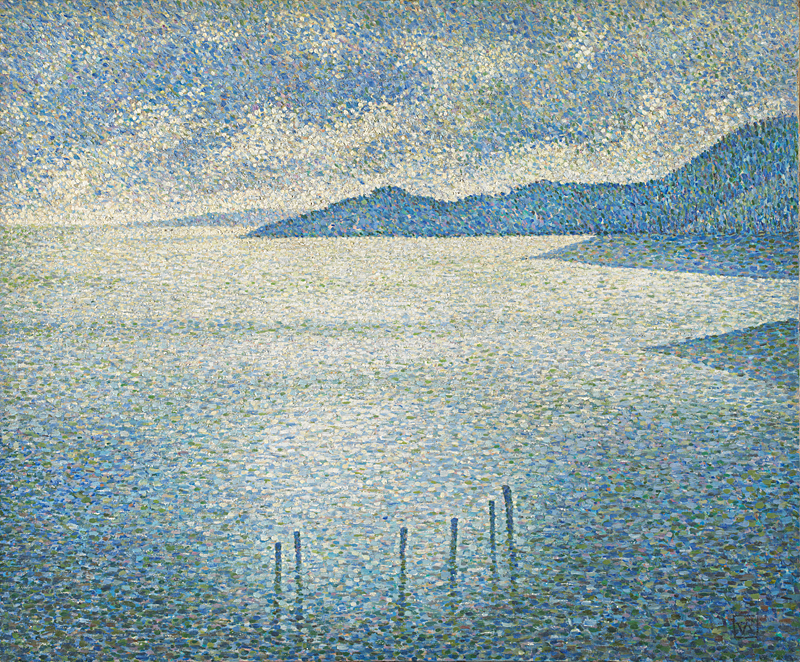
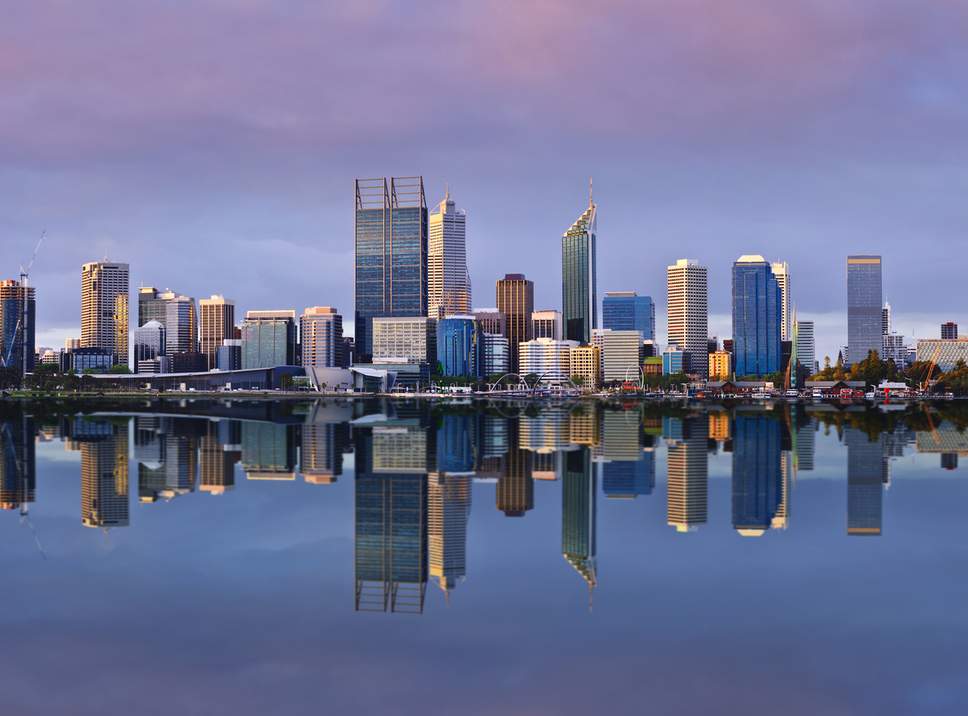
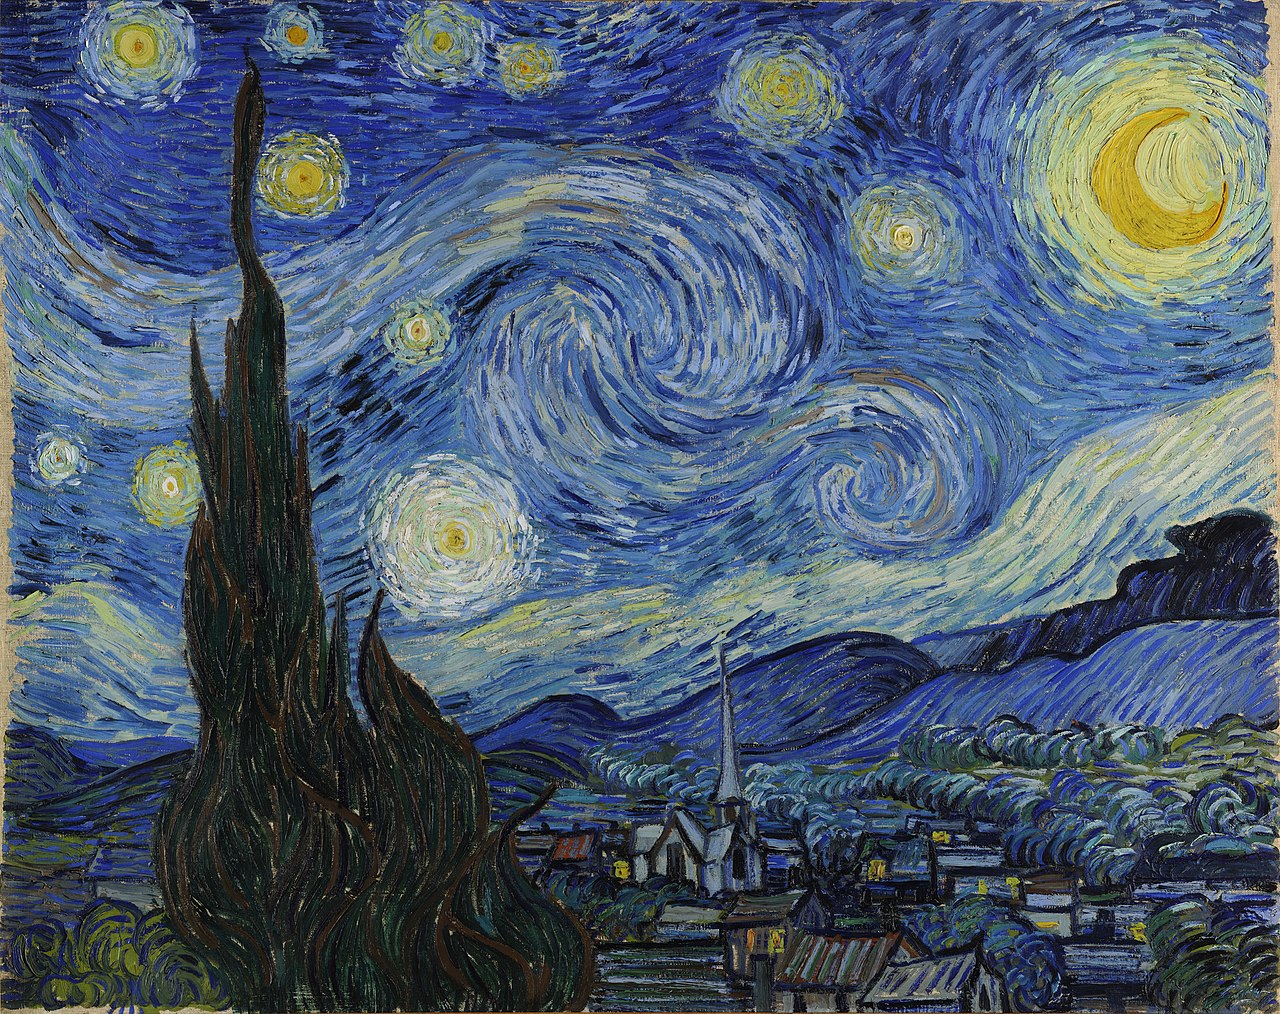
(Here they’re shown in the original resolution but I resize them to 224x224 when using them for styling.)
The focus of this post is on the Style Transfer section of the paper, Section 2.3 to be precise. This article is accompanied by a notebook.
This work builds of my previous ones on Content Representation/Reconstruction and Style Representation/Reconstruction. I tie these two components in to create the final product. Before reading this post, I’d recommend reading the previous ones on content and style. Additionally, the notebook I build here utilizes the code I wrote when building the previous two notebooks; again content and style.
Unsurprisingly, this final section was the easiest. Working through this paper, the programming became easier as I went along. There were no real surprises or gotchas for this final piece. I probably took less than an hour to write the notebook up.
Structuring the code took some time. This involved deciding on which parts of the code should be abstracted and what the progression of the code should be when reading the notebook top to bottom. I ended up moving the gram matrix and style loss computation into a separate utility module titled loss. I think the style loss computation definitely belongs here but perhaps not the gram matrix. However, since I didn’t have any other maths functions, I didn’t want to create a new module entitled maths just for the gram matrix. Since I wrote the content reconstruction notebook before the style reconstruction, this notebook details the content reconstruction before the style.
Aside from combining the notebooks, there were a couple of new additions here. Firstly, there are now two real images to utilize: the content image and the style image. This meant setting up a new image tensor and ensuring I was getting the response (content representation or style representaiton) for the correct image. Additionally, there’s also the weighting on each of the loss components, content and style. The authors provide the ratio between the weights but not the actual weights and I tried out a couple.
After playing around a little, here are two images I obtained (that I liked, or a the very least, didn’t dislike too much):
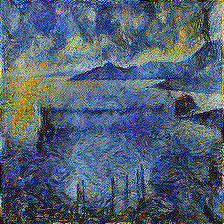
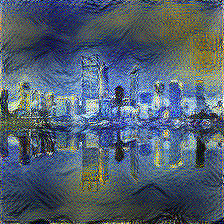
To produce these images, both the content and style images were resized to 224x224. For the content representation, I used layer 2 of the network and for the style representation, I used the first 2 layers. I fiddled around with these choices and ended on these because they looked pleasing but also because I could iterate a little faster compared to using more layers. Also, I wanted the content image to come through strongly so I decided to use a ratio of 1e-2 between the weights for the content and the style loss.
Overall, I think the I’ve achieved my main objective of transferring style as described in the paper but there’s still room for improvement. I think my naive/lazy use of Adam instead of L-BFGS (what the authors used) probably hurt. I did some searching but couldn’t find a clean, easy-to-use TF implementation of it so I stuck with Adam. Some have noted that using Adam means some tuning is required but I didn’t have the patience or the resources which brings me to the main bottleneck I’ve faced in this implementation: my hardware. As I mentioned in my previous post, I don’t have a great GPU or power supply. If my memory requirements got too big, for example if I used an image that was too large, my machine would reboot. I would have been happy to play around with the image size to figure out how far I could push the model if all I got was an OOM error. Having the machine reboot each time is a big drain on my resources, disconcerting, and disheartening. Working with a small image meant that it looked quite grainy. Not tweaking the hyperparameters (content-style ratio, gradient optimizer used, initial random seed) meant that there are probably lots of small improvements I could eke out to produce nicer images. Additionally, I didn’t use any particular learning schedule which is probably why it looks like the image could still stand to be optimized more.
Resources aside, I also didn’t make these commitments to improve the model because I view this work as just the starting point on this journey. Since their work, the field of neural art has been rapidly improving and I want to get more involved. Perhaps if I was implementing the state of the art, I would invest more time trying to squeeze every little bit of performance out of it.
That is not to say that I’m definitely done or satisfied with this particular implementation however. I’m hoping that I can upgrade my hardware sometime in the near future and then I hopefully I can attain some better results. Additionally if I learn of implementation hacks as I work through other papers, I might come back and apply them here.
I’ve never been a big history fan. Too many names and dates to memorize. But now, free from the pressure of having to learn for the sake of getting good grad...
A little while ago, I read Letters from a Stoic by Seneca (translated and edited by Robin Campbell). I got a lot out of reading Letters and wanted to encoura...
I recently finished reading Every Tool’s a Hammer: Life Is What You Make It1 by Adam Savage. It was an energizing read and I highly recommend this book to fe...
CoordConv
Recently, I binged through the Culture series by Ian M. Banks. It was an amazing read and I thought a write up about it might help ground the experience and ...
I recently the following on Coursera: Learning How to Learn: Powerful mental tools to help you master tough subjects Mindshift: Break Through Obstacles ...
If you’re reading this, I’m assuming that you’ve read the paper Image Style Transfer Using Convolutional Neural Networks and have some familiarity with it.
While working on the second part of my style-transfer project, I needed to obtain the shape of a tensor. I decided to try using the tf.shape function.
If you’re reading this, I’m assuming that you’ve read the paper Image Style Transfer Using Convolutional Neural Networks and have some familiarity with it.
While working on the first part of my style-transfer project, I had: A new input variable which would have to be initialized from scratch. The VGG-19 ne...
While working on the first part of my style-transfer project, I found out the hard way that TF is very sensitive to the network’s input’s data type.
While working on the first part of my style-transfer project, I dealt with two main variable groups: The input variable which was the image I was optimizi...
While working on the first part of my style-transfer project, I used pyplot’s imshow to diplay images in the notebook. However, it took me a little bit of pl...
While working on the first part of my style-transfer project, I used Open CV’s cv2.imwrite to save images to disk. However, the images seemed to have a weird...
While working on the first part of my style-transfer project, I ran into lots of image issues. One of the issues was that cv2 uses a BGR channel order inste...
If you’re reading this, I’m assuming that you’ve read the paper Image Style Transfer Using Convolutional Neural Networks and have some familiarity with it.
Cue customary Hello World.